This is short article that shows you the power of docker compose. It will take you a few minutes to set up a Drupal CMS with Docker. In this set up we will be using two images Drupal and Postgres for the main RDBMS.
Docker Compose is an open-source tool for managing multi-container applications with Docker. With Docker Compose, you can describe environments using a declarative syntax and Compose will do all of the heavy-lifting to create the environment. Compose also has built-in logic to make updating environments easy and efficient. It’s not only useful for deploying pre-built images, though. You can use it during development to easily manage dependencies for projects. If that sounds interesting, you are in the right place!
In this course, we’ll go over what Docker Compose is and why you would use it. Then we’ll explore the two parts of Docker Compose: Docker Compose files and the Docker Compose command-line interface. Next, we’ll get into demo-focused lessons beginning with running a web application with Compose. After that, we’ll see how to build images in a development scenario with Compose. Lastly, we’ll see how to use Compose to adapt an application to multiple different environments. In particular, we’ll see how to use Compose to manage an application in development and production.
1. Create a docker compose file docker-compose.yml.
2. Use following code
version: '3.1'
services:
  drupal:
    image: drupal:8-apache
    ports:
      - 8080:80
    volumes:
      - /var/www/html/modules
      - /var/www/html/profiles
      - /var/www/html/themes
      - /var/www/html/sites
    restart: always

  postgres:
    image: postgres:10
    environment:
      POSTGRES_PASSWORD: WErdd2dd
    restart: always
3. Run docker-compose run command in the directory with your docker-compose.yml file, make sure you have Docker installed by typing the following command docker version if you are getting error please go here to learn how to install Docker. Now you can check if the both images (Drupal and Docker) are running successfully.

4. Create port forwarding for port 8080 if you are running docker in virtual machine. I use VSC to do so.
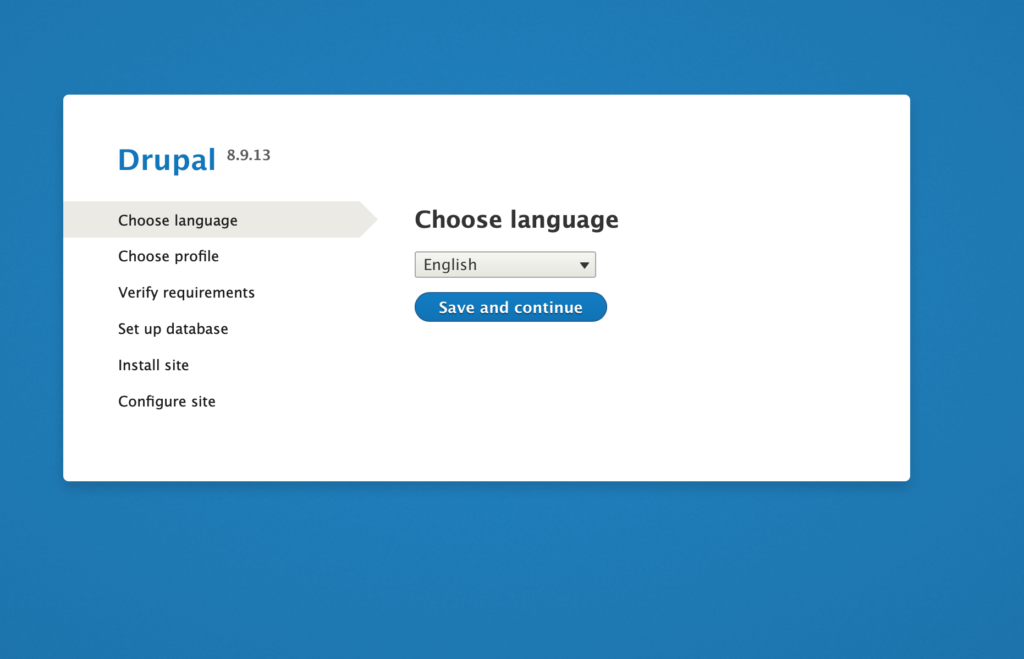
5. Next go to localhost:8080, if everything were successful you will see this message…

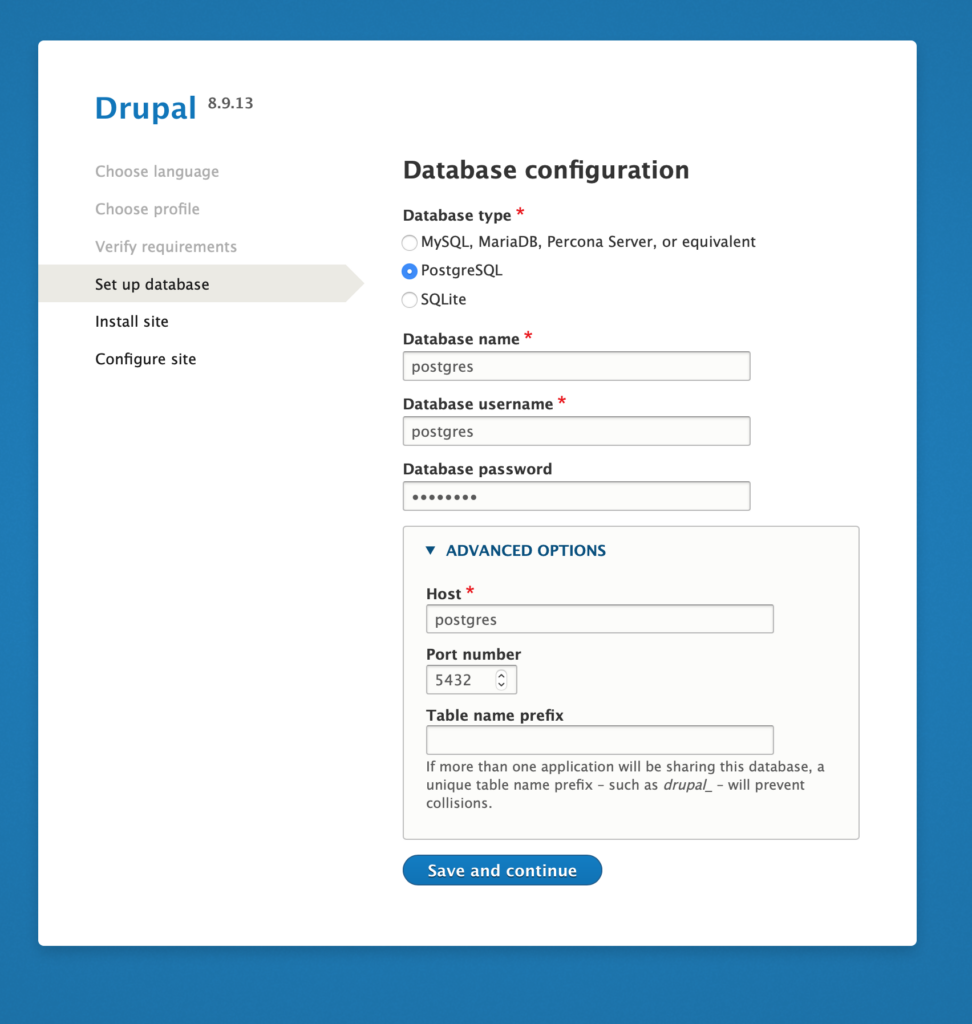
Follow steps, for database user and database name use postgres and for the password use the one you declare in yml file, in my case it is WErdd2dd
6. If you are getting the following error…
Failed to connect to your database server. The server reports the following message: SQLSTATE[08006] [7] could not connect to server: Connection refused Is the server running on host “localhost” (127.0.0.1) and accepting TCP/IP connections on port 5432? could not connect to server: Cannot assign requested address Is the server running on host “localhost” (::1) and accepting TCP/IP connections on port 5432?.
Please go to advance settings and change the hostname to postgres it should help fixing the problem.

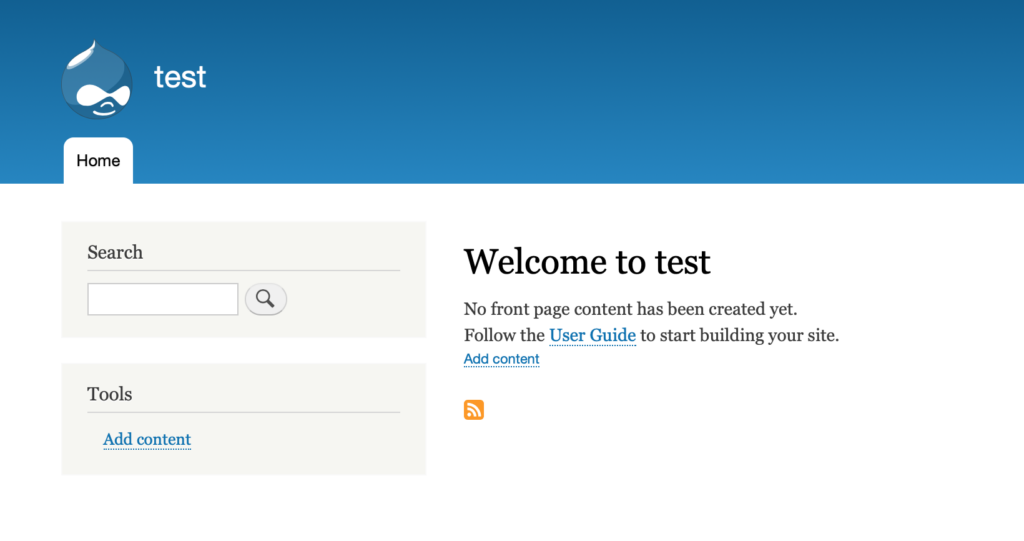
7. Next create your site name, user and password and finish the set up. Voilà now you are having Drupal running in your Docker.

8. To stop docker compose and remove containers use the following command docker-compose down.
Conclusion: setting up docker-compose.yml can take some time and trials and errors, but it is a very convenient way to set up a comprehensive environment in a matter of minutes or maybe seconds. If you run again docker-compose up command you will see how quickly both containers are getting set up. It is just magic! Or you can call this magic Docker Compose.
